
Classroom Set-up and Basic Management:
1. For Younger Students, Materials Should Be Set Up in Advance with Clear Guidance on Their Arrangement
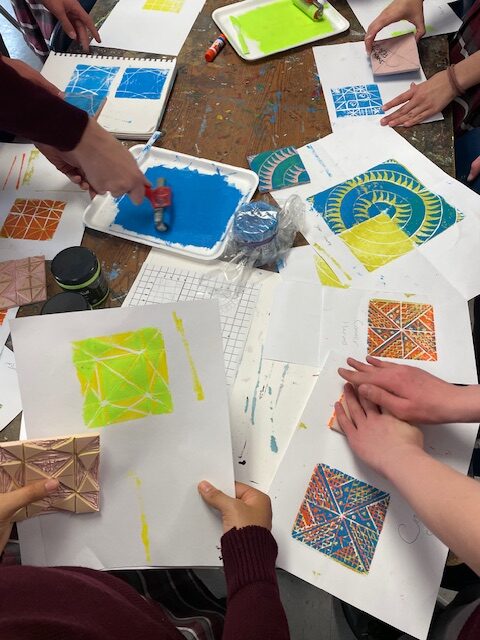
For the youngest artists, a seamless start to their printmaking experience is key. Organizing materials beforehand and providing clear instructions can significantly enhance their focus and enjoyment.
Mrs. Hess emphasizes the importance of minimizing distractions, “Paper is handed out after instructions have been given and students are sitting at the table. It cuts down on distractions and those who want to jump ahead.”
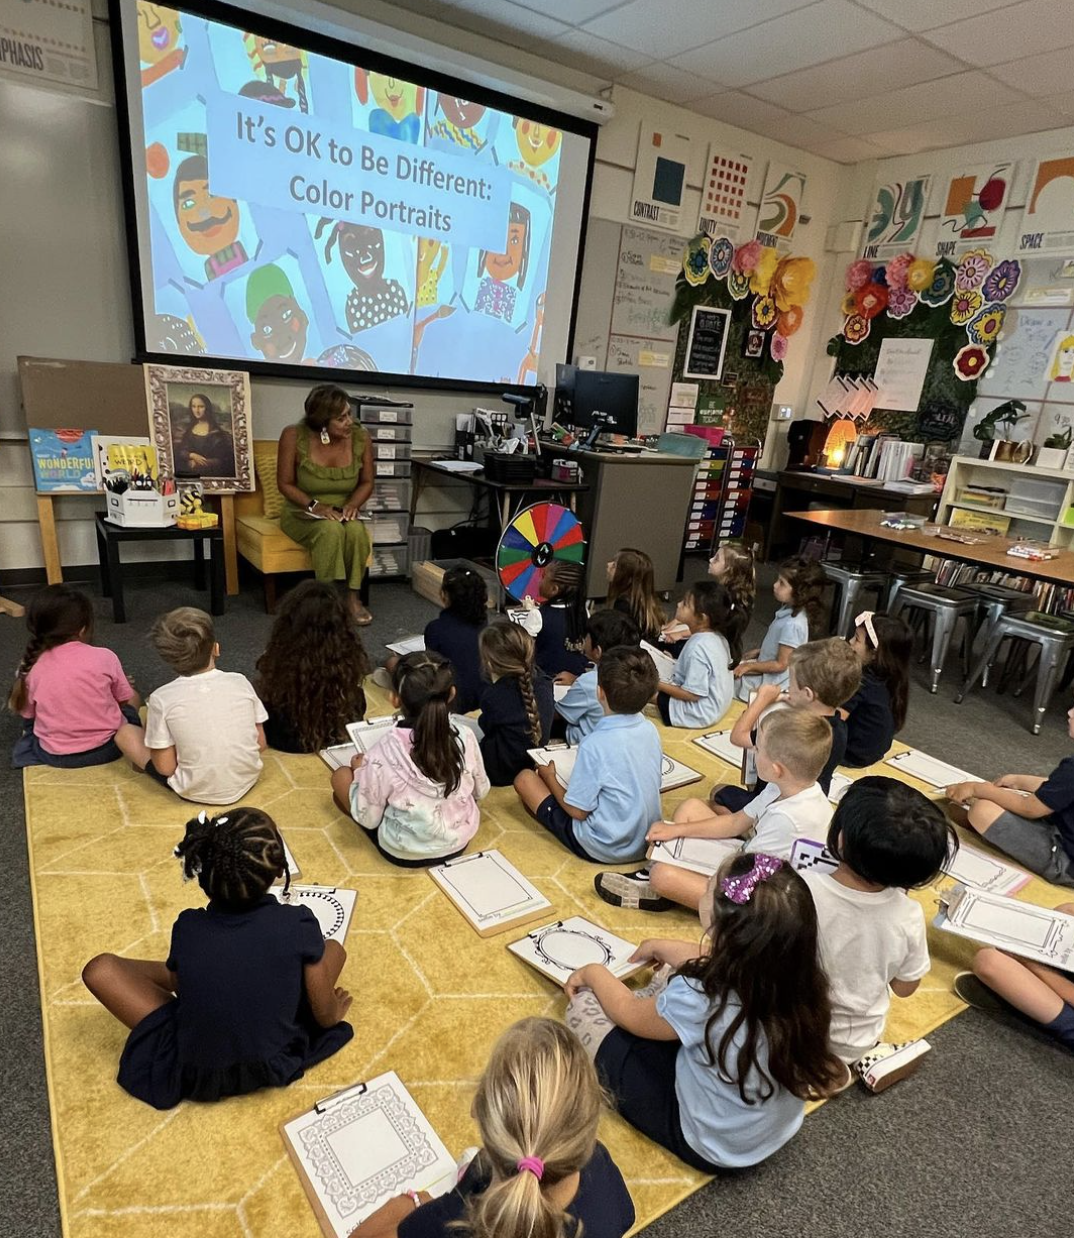
Similarly, Dr. Debi Bober finds that having everything ready on the tables makes the process smoother: “For 1st through 5th-grade printmaking, I set all materials out in the center of each student work table ready to use.”
Image: Giving instructions before students head to their seats in Dr. Bober’s art classroom
2. As Students Grow, Fostering Their Independence by Organizing Tools and Supplies in Clearly Labeled, Accessible Areas May Be Desired
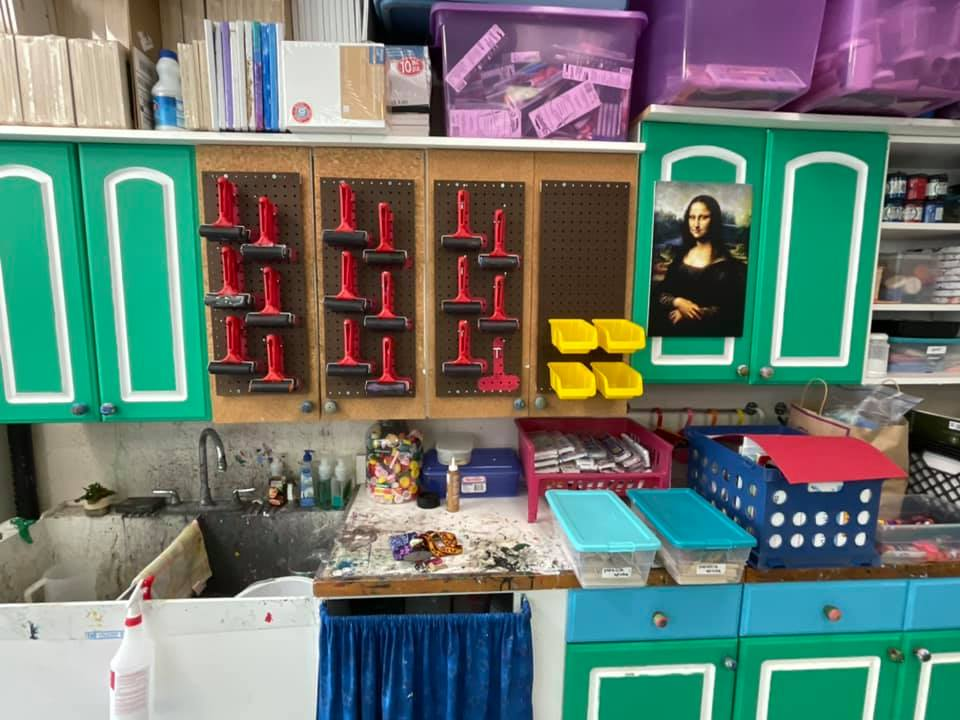
“Printmaking station: brayers on pegboard, inks stored on shelves to the right.” Mrs. Hess
As students advance in their educational journey, the emphasis shifts towards fostering independence and self-reliance in their artistic endeavors. This transition is crucial for their development not only as artists but also as autonomous learners.
Mrs. Fish underlines the importance of autonomy, particularly for high school students: “At the high school level, students appreciate autonomy, and allowing free access to materials provides for this.” She stresses the significance of setting clear expectations for the use and cleanup of materials, which cultivates a sense of responsibility among students.
3. Be Clear and Consistent When Introducing Printmaking Steps and Routines
Clarity and consistency in instruction play a vital role in student success, regardless of age. Starting with a demonstration and clear guidelines helps prevent confusion and builds confidence. Mrs. Hess shares, “Whenever I teach a printing lesson, I begin with students around me so steps can be demonstrated.” This approach is echoed by Dr. Debi Bober, who also emphasizes the use of sketchbooks or templates for brainstorming, ensuring that students have a clear understanding of the project at hand.
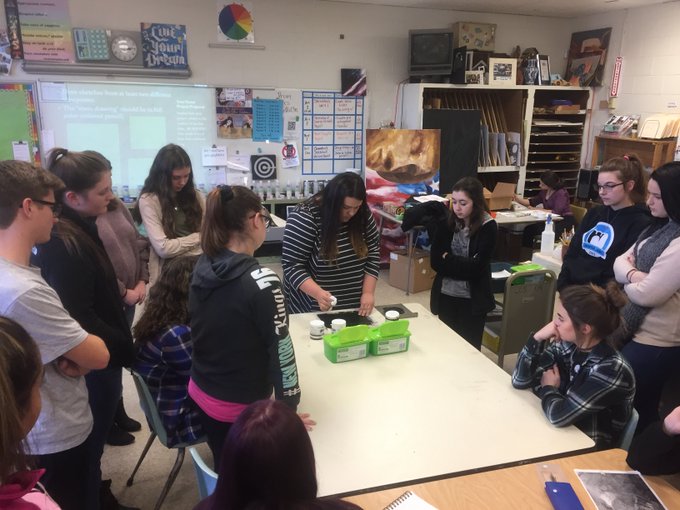
To support independence while maintaining focus and direction, Mrs. Fish suggests breaking down the project into manageable segments: “Presenting each step of the project in small parts and posting a running to-do list keeps students focused throughout the process.” This approach not only aids in keeping the students engaged but also serves as a navigational tool, guiding them through the complexity of the printmaking process. She adds, “Additionally, this list could be a worksheet the students can use as a checklist to work through the process, which helps keep the slower workers on track.” This structured method ensures that all students, regardless of their pace of learning, can follow along and achieve success in their projects.
Image: Mrs. Fish demonstrating printmaking in her classroom
4. Move Around the Classroom, Encouraging Students as Well as Supporting Understanding and Learning
Active engagement with students during printmaking projects is crucial for fostering a creative and supportive learning environment. Dr. Debi Bober focuses on celebrating students’ efforts and creativity, stating, “As they are working, I mostly acknowledge amazingness.” This approach of recognizing and vocalizing students’ successes plays a significant role in motivating them.
Mrs. Hess embodies the dynamic role of a teacher with her proactive strategy: “I am in constant motion during printing projects, taking laps around the room to check on progress, use of materials, brainstorm issues, and answer any other questions that might crop up.” This hands-on approach not only addresses individual concerns but also fosters a collective focus on the task at hand.
The concept of formative feedback is central to Dr. Debi Bober’s teaching philosophy, where she emphasizes the importance of guiding students through their struggles with positive reinforcement and practical examples. “The process of assessment in my elementary school art class is 100% formative…I look for steps, difficulties, process points where students are struggling.” By offering support tailored to individual needs, she ensures that every student understands the steps involved and feels valued in their creative journey.
Similarly, Mrs. Fish focuses on the importance of checking in with every student at least once per class period to assist them in avoiding common mistakes such as incorrect application of paint/ink or improper texturing. This level of attention helps students refine their techniques and encourages a deeper understanding of the printmaking process.
Mrs. Fish highlights the importance of allowing students the freedom to explore their creativity within the design process, acknowledging that while this can be motivating for some, it may be intimidating for others. By engaging in individual conversations, she navigates these challenges, ensuring that each student feels supported and confident in their artistic endeavors.
Through their shared insights, these teachers illustrate the impact of a hands-on, attentive approach in the art classroom. By moving around the classroom, offering encouragement, addressing individual challenges, and providing formative feedback, they create an environment where students are supported in their learning and encouraged to explore their creativity. This personalized attention not only enhances students’ technical skills in printmaking but also builds their confidence and fosters a positive classroom dynamic.
Image: Mrs. Hess’s Classroom at work
5. Be Prepared with Cleanup Protocols to Manage Potential Chaos!
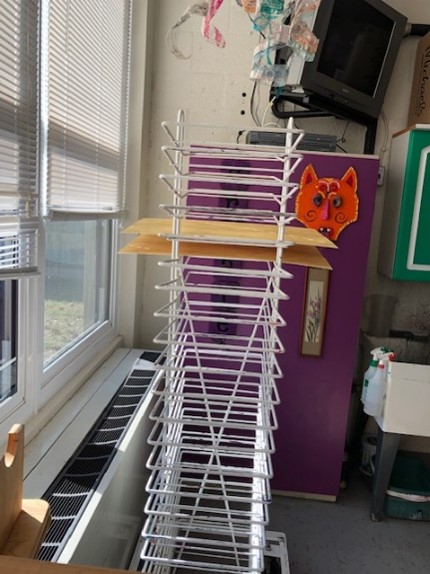
“Drying rack with recycled matte board cut to fit (I have enough cut for the entire drying rack). Quite literally, one of the best tools I ever created for my classroom!” Mrs Hess
Efficient and effective cleanup protocols are essential for managing the inevitable mess that comes with printmaking projects. These protocols not only keep the classroom organized but also teach students the importance of tidiness and respect for shared spaces.
Dr. Debi Bober has devised a practical solution for minimizing disruptions during cleanup: “I keep a wash basin with clean rags and clean water for hand washing, and a basin with dry towels for drying in [the supply] area. This allows students to wash quickly and orderly, without having a long line at my classroom sink.” She further addresses the need for efficiency when a lot of washing is necessary by placing wash stations at each table, ensuring that students have easy access to cleanup facilities without overcrowding a single area. Moreover, her use of wet wipes for students to clean their printing plates and fingers between prints exemplifies a simple yet effective method to maintain cleanliness throughout the printmaking process.
Mrs. Hess introduces a creative approach to safeguarding work surfaces: “Use 24”x36” plastic sheets to cover the table and make clean-up a breeze.” By repurposing materials from a local framing shop, she not only finds a cost-effective solution but also demonstrates the value of recycling and resourcefulness in the art classroom. Her strategy not only protects the tables but also significantly reduces the time and effort required for post-project cleanup, allowing more time for artistic exploration and less for dealing with the aftermath.

Mrs. Hess, St. Francis of Assisi School; Triangle, VA; PreK-8th grade Art;
Dr. Debi Bober, Cubberley TK-8, LBUSD, Long Beach, CA, TK-8 Art Specialist;
Mrs. Anderson, Hardin Valley Academy & Knoxville Museum of Art Knoxville, Tennessee; Pre-K-8